Inside the Glasseye Studio: How We Bring Animation to Life
- Glasseye

- Mar 25, 2025
- 3 min read
Updated: Sep 12, 2025
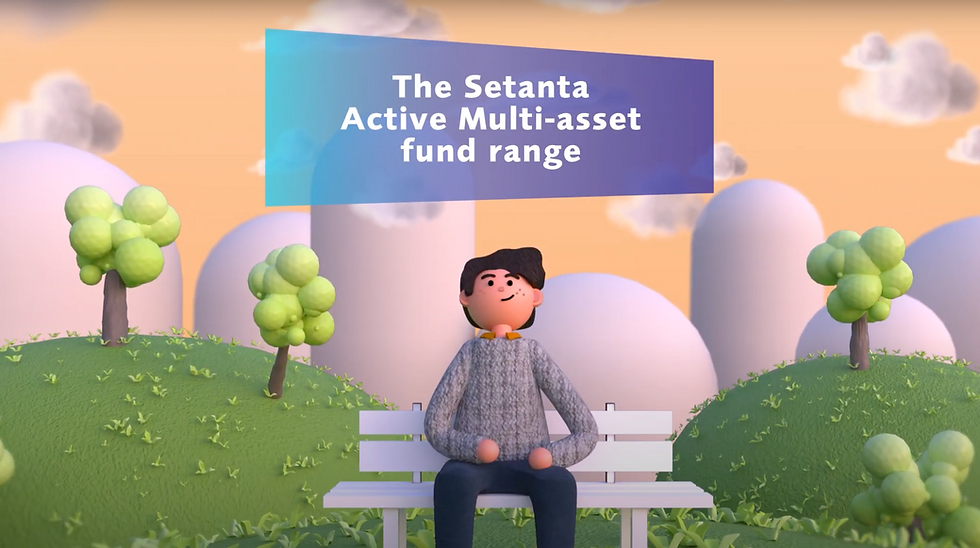
Animation has a unique way of turning ideas into engaging visuals, making complex messages easier to understand and more enjoyable to watch. Whether you're considering animation for a project or just curious about the process, here’s a step-by-step breakdown of how we create animated video in Glasseye. View one of our our animations.

Step 1: Defining the Purpose and Concept
Before anything else, it’s important that we have clarity on the goal of the animation.
Who is it for? What story or message needs to be conveyed?
At this stage, it’s all about brainstorming and refining ideas. It might involve discussions about:
What the animation will achieve (e.g., explain a process, introduce a product, or tell a story).
The target audience and the best way to engage them.
The tone and style—should it be fun and light-hearted or professional and sleek?
Outcome: A clear concept and direction that guides the rest of the process.
Step 2: Writing the Script
A great animation starts with a strong script. It’s the foundation that shapes the visuals, voiceover, and overall flow of the video. A well-written script is concise, engaging, and structured in a way that keeps the viewer’s attention.
At this stage, key elements include:
Keeping the message clear and to the point.
Ensuring a logical and engaging flow.
Crafting dialogue or narration that resonates with the audience.
Outcome: A finalised script that serves as the blueprint for the animation.

Step 3: Storyboarding – Mapping Out the Visuals
Storyboarding is like creating a rough sketch of the video. Think of it as a comic strip that outlines how the story unfolds, scene by scene.
During this phase:
The sequence of visuals is planned.
Camera angles, movements, and transitions are mapped out.
Key elements, such as text placements and graphical highlights, are noted.
This stage is invaluable for spotting any gaps or areas for improvement before moving into full production.
Outcome: A visual guide that lays out the animation’s structure.
Step 4: Designing the Visual Elements
Once the storyboard is approved, we begin the design phase. This is where the style, colours, typography, and graphical elements are created.
Some key aspects include:
Defining a cohesive visual style that matches the brand or purpose.
Designing characters, icons, backgrounds, or other necessary graphics.
Selecting a colour palette that enhances readability and engagement.
Outcome: A collection of design assets that will be used in the animation.
Step 5: Animation – Bringing Everything to Life
This is where the real magic happens. Using animation software, static images and graphics are given motion, making them dynamic and engaging.
During this stage:
Elements are animated based on the storyboard.
Motion effects, transitions, and pacing are fine-tuned.
The animation is synchronised with the script to ensure fluid storytelling.
Outcome: A draft animation ready for review.
Step 6: Adding Voiceover and Sound Design
Sound is a crucial part of making an animation feel complete. A professional voiceover adds personality, while background music and sound effects enhance immersion.
This stage involves:
Recording a voiceover that fits the tone and style of the animation.
Selecting or composing background music to complement the visuals.
Adding sound effects to give the animation a polished, professional feel.
Outcome: A fully narrated and sound-designed version of the animation.

Step 7: Editing and Refinement
With all the elements in place, the animation is fine-tuned. This is when any final adjustments are made, ensuring smooth transitions, perfect timing, and overall cohesion.
Some final refinements may include:
Adjusting the timing of visuals and voiceover.
Smoothing out animations for a natural flow.
Incorporating feedback and making necessary tweaks.
Outcome: A final, polished animated video ready for delivery.
Step 8: Exporting and Sharing the Animation
Once the animation is finalised, we prepare it for use. The video is exported in the required formats, optimised for various platforms such as websites, social media, or presentations.
At this stage:
The video is delivered in high-quality formats.
Optimised versions may be created for different platforms.
Guidance is provided on how to maximise its impact.
Outcome: A fully completed animated video, ready to be shared with the world.
View our animation for the OPW
Creating an animated video is a collaborative and creative process that brings ideas to life in a unique and engaging way. Whether you're looking to simplify a complex topic, tell a story, or create eye-catching content, animation offers endless possibilities.
Considering animation for a project? Contact us today, we are happy to help! enquiries@glasseye.ie


