
Exploring the Creative Process: Behind the Scenes at Glasseye
- Glasseye

- Mar 18, 2025
- 3 min read
Updated: Sep 12, 2025
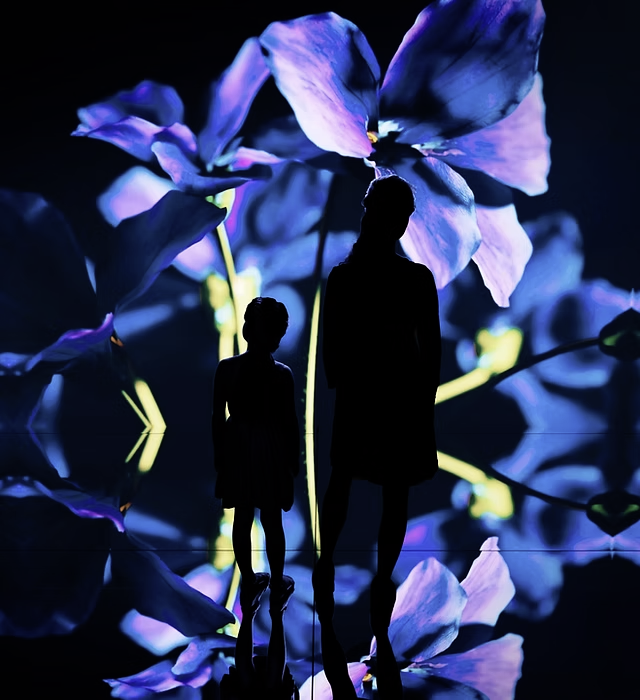
At Glasseye, we don’t just create visuals—we craft experiences. Whether it’s through XR (Extended Reality), motion graphics, animation, or video production, our mission is to engage, inspire, and immerse audiences in new ways.
But how does it all come together? What goes into designing a truly immersive experience that feels seamless, interactive, and emotionally compelling? In this behind-the-scenes look, we’ll break down our creative process, the tools we use, and the techniques that bring our work to life.

Step 1: Understanding the Story & the Audience
Every project begins with a question:
What story are we telling?
Who is the audience?
What emotions or reactions do we want to evoke?
Before diving into any visuals, we map out the experience. Is it an XR-driven brand activation? A virtual heritage tour? A motion graphics-led campaign? Understanding the end goal shapes every creative decision we make.
"Technology is just a tool—what truly matters is the experience it enables.
We start with emotion and build the tech around it, not the other way around."
Step 2: Concept Development & Pre-Visualisation
Once we have the story, we begin to sketch, storyboard, and pre-visualise. This stage includes:
Moodboards & Style References – Defining the look & feel.
Storyboarding – Mapping out the experience frame by frame.
3D Blocking & Previz – Using low-fidelity models to test spatial layouts in XR environments.
User Flow Mapping – If it’s an interactive XR piece, we plot out how users will move through the experience.
"Good design isn’t just about aesthetics—it’s about how people interact with the world we create. Every detail, from lighting to sound design, plays a role in immersion."

Step 3: The Tools & Technology We Use
We combine cutting-edge tools with artistic intuition to create fluid, lifelike experiences. Here are some of our go-to software and technologies:
For XR & Virtual Production
Unreal Engine / Unity – Used for real-time 3D environments and virtual production.
Blender / Cinema 4D – Modeling and texturing assets for realistic XR visuals.
ARKit / Spark AR / Adobe Aero – For augmented reality activations.
360° Video & Photogrammetry – Capturing real-world environments for virtual tourism & heritage experiences.
For Motion & Visual Design
Adobe After Effects – Motion graphics, compositing, and visual effects.
Unreal Engine – Advanced particle simulations for interactive elements in XR.
Davinci Resolve / Premiere Pro – Editing and colour grading for immersive video content.
For AI-Enhanced Content Creation
Stable Diffusion / DALL·E – AI-assisted concept art & rapid prototyping.
Runway ML – Machine learning tools for enhancing motion graphics.
"The right tools don’t just make things look good—they make experiences feel seamless and natural. When done right, the tech disappears, and the story takes centre stage."
Step 4: Production – Bringing Everything to Life
Once the concepts are locked in, we move into production mode. This might involve:
Filming in Virtual or Real Environments – Depending on the project, we might shoot live-action footage, integrate green screen elements, or work entirely in virtual production.
Building Interactive Assets – If it’s an XR experience, we optimise 3D assets for real-time rendering.
Motion Capture & Animation – Creating lifelike human movement using mocap technology.
Compositing & Post-Production – Integrating live-action, CGI, and VFX to ensure a seamless final product.
Step 5: Testing, Refining & Perfecting
No immersive experience is complete without rigorous testing. We focus on:
User Experience (UX) Testing – Ensuring intuitive navigation in XR environments.
Performance Optimisation – Smoothing out frame rates, lighting, and interactions for real-time applications.
Sound & Spatial Audio – Perfecting directional soundscapes to enhance immersion.
Refinement & Client Feedback – We work closely with clients to fine-tune every detail before final delivery.

The Final Step: Delivering an Unforgettable Experience
At Glasseye, our work isn’t just about creating visually stunning content—it’s about crafting experiences that stay with people. Whether it’s a virtual heritage tour, a branded XR activation, or a fully immersive digital world, our goal is always the same:
Make the audience feel something.
When we see users react, engage, and connect with our work, that’s when we know we’ve done our job.
Want to create something truly immersive? Let’s talk. enquiries@glasseye.ie
Agustin discusses 'The Summer Palace'


